Connect local models with iPolloOS
Verify inference in OS, then configure its API URL, key and actual model ID in Work.
Based on the 2 November 2026 independent edition · Download the complete Chinese PDF or Word manual
Prepare iPolloOS, iPolloWork, and sufficient disk space and memory. This guide follows OS 0.1.3 project documentation, reviewed 2026-11-02. Development features still require validation on your hardware.
- 01Choose a device
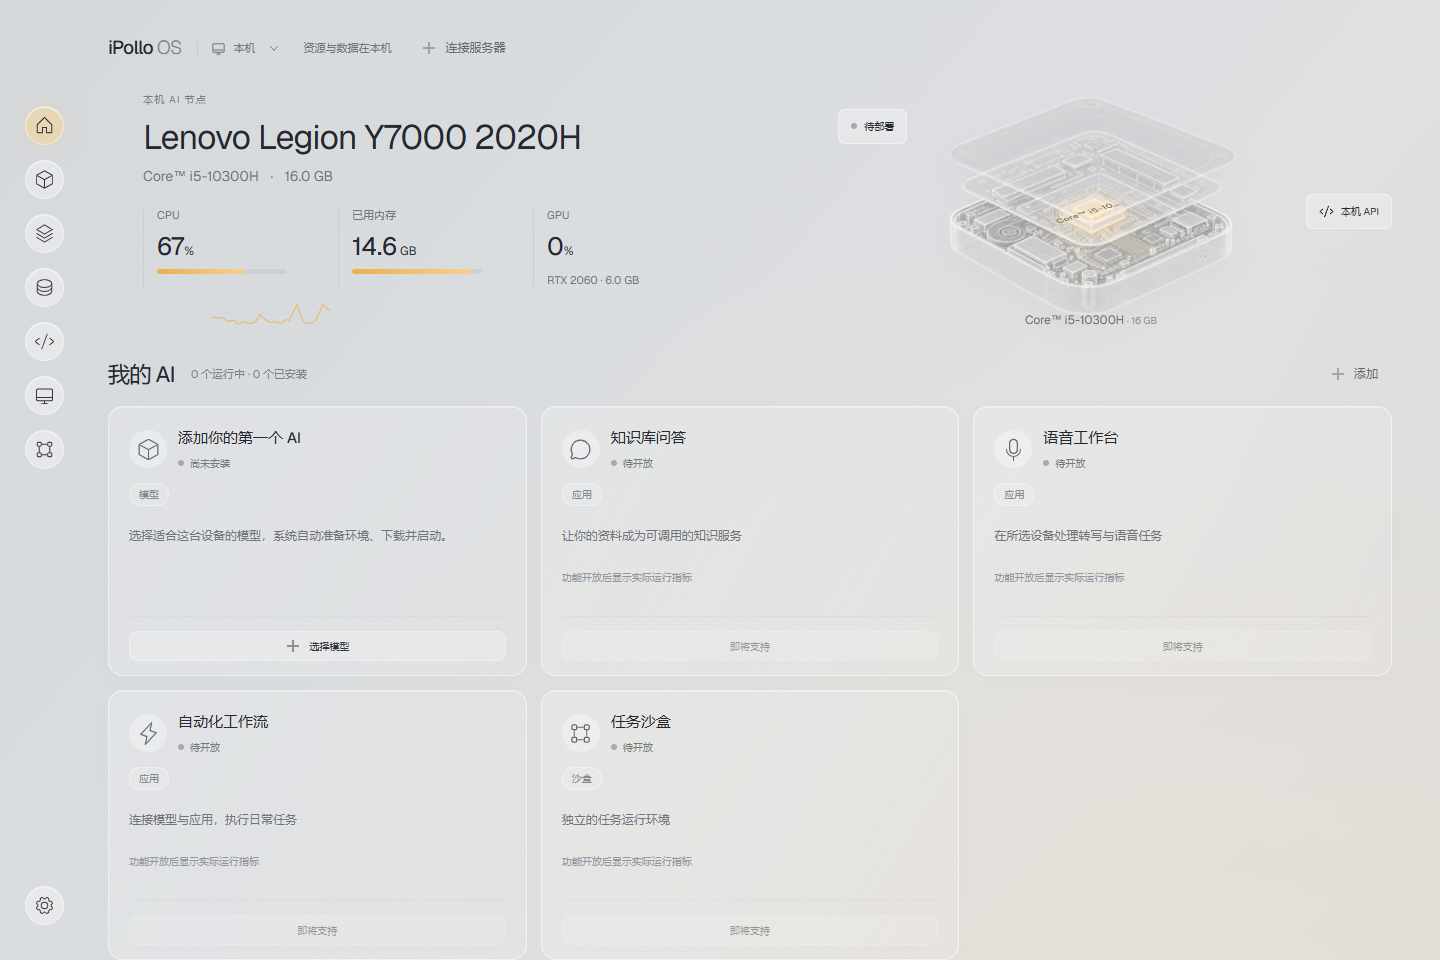
Select the local machine or a connected server in OS.
- 02Start a model
Install a suitable model, enable it and verify a real response.
- 03Prepare the API
Create a key and obtain the API address and actual model ID.
- 04Connect Work
Configure a compatible provider and send a small request.
1. Install and verify a model
- Select the intended device or server at the top of OS and check its hardware information.
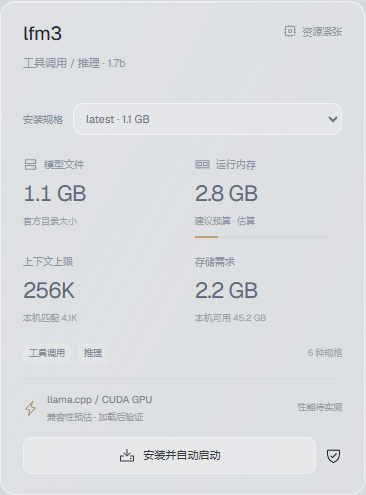
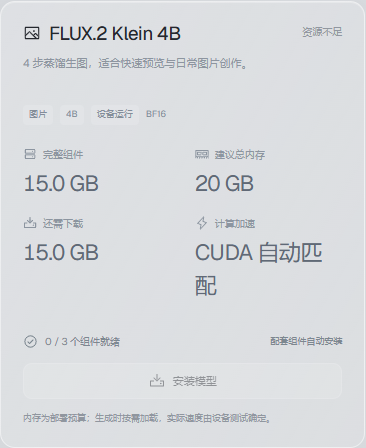
- Choose a model size based on device support, download size and recommended memory.
- Install and enable it, then wait for readiness. An open application, downloaded model and loaded model are different states.
- Send a test request from model details and verify both the response and usage measurements.
Memory recommendations are not measured usage for every workload. Images and video use a separate media runtime and need separate validation.
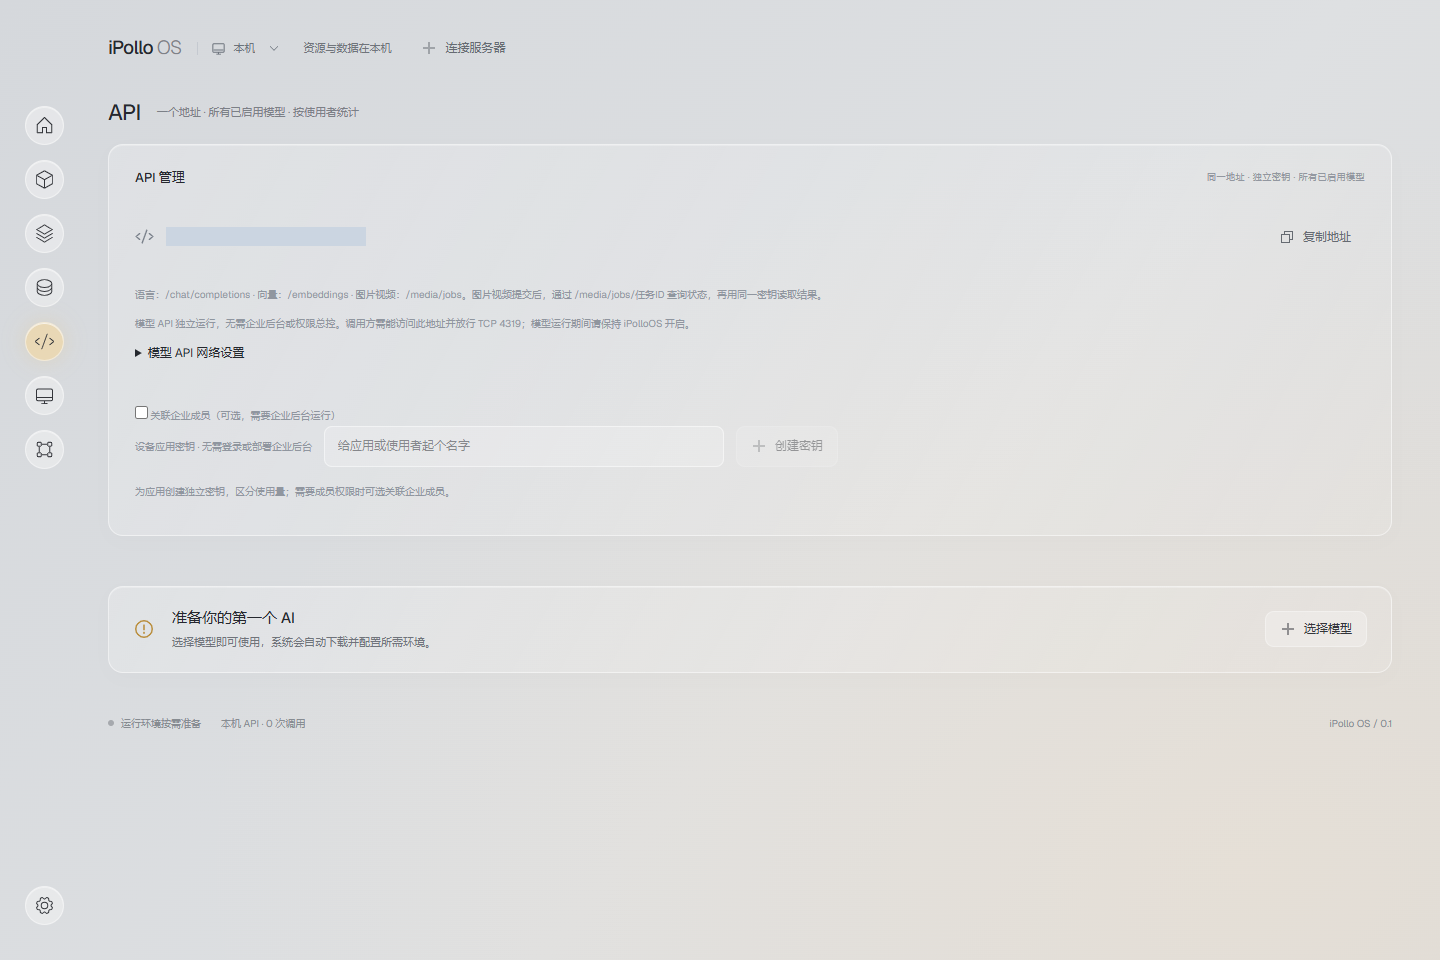
2. Obtain API settings
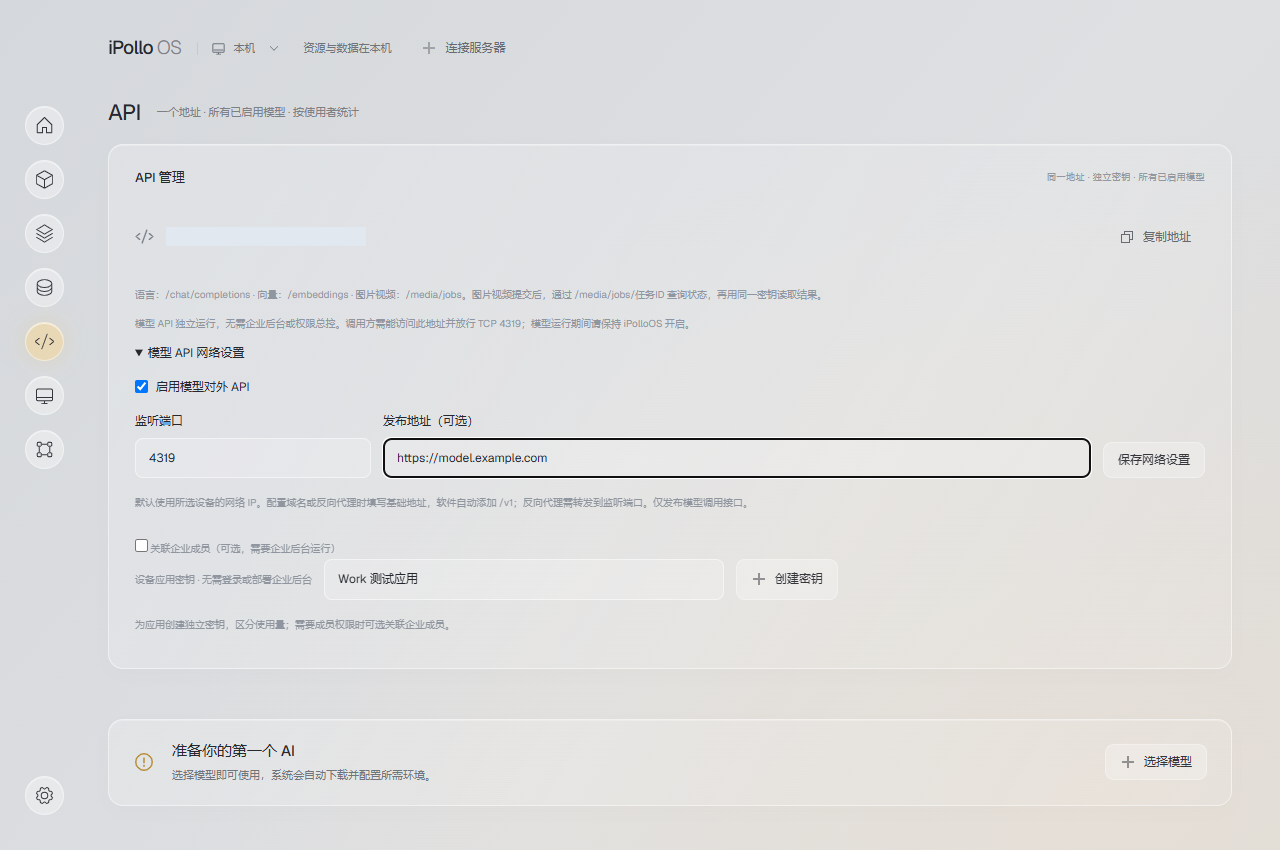
Create and save a key in API management and copy the unified address. The original key is generally only shown at creation; keep it in your own secure configuration.
| Setting | Local example | Important detail |
|---|---|---|
| OpenAI-compatible Base URL | http://127.0.0.1:4318/v1 | Only when Work and OS run on the same computer. |
| API key | A key created by OS | An enterprise join code does not replace a model API key. |
| Model ID | An actual /v1/models result | Do not guess; named routes may use route:.... |
This example reads your own key from an environment variable. Keep real values out of shared documentation:
curl http://127.0.0.1:4318/v1/models \
  -H "Authorization: Bearer $IPOLLO_API_KEY"
3. Connect from Work
- Open model provider settings and choose an OpenAI-compatible or appropriate custom connection.
- Enter the OS address, API key and actual model ID. Some provider forms append
/v1automatically; follow the field's instructions to avoid a duplicate path. - Save and send a simple text request with that provider and model selected.
- Check OS usage to confirm the request reached the intended device, then test your real workload.
Tool calls, context length and structured output depend on the actual model and service. Verify the Agent tools you need after basic chat succeeds.
4. Remote devices, routing and permissions
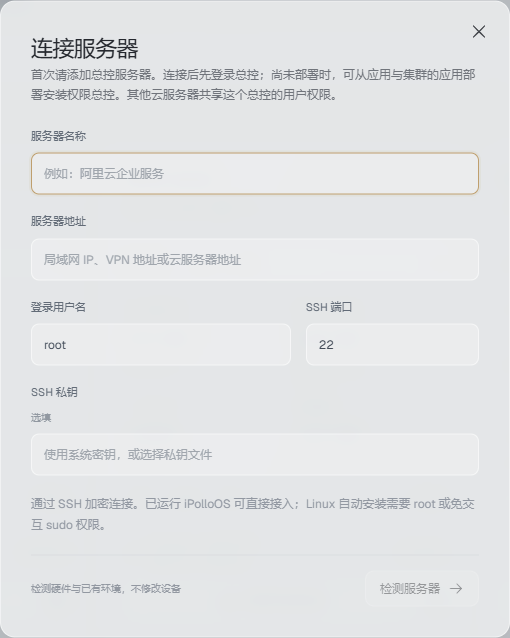
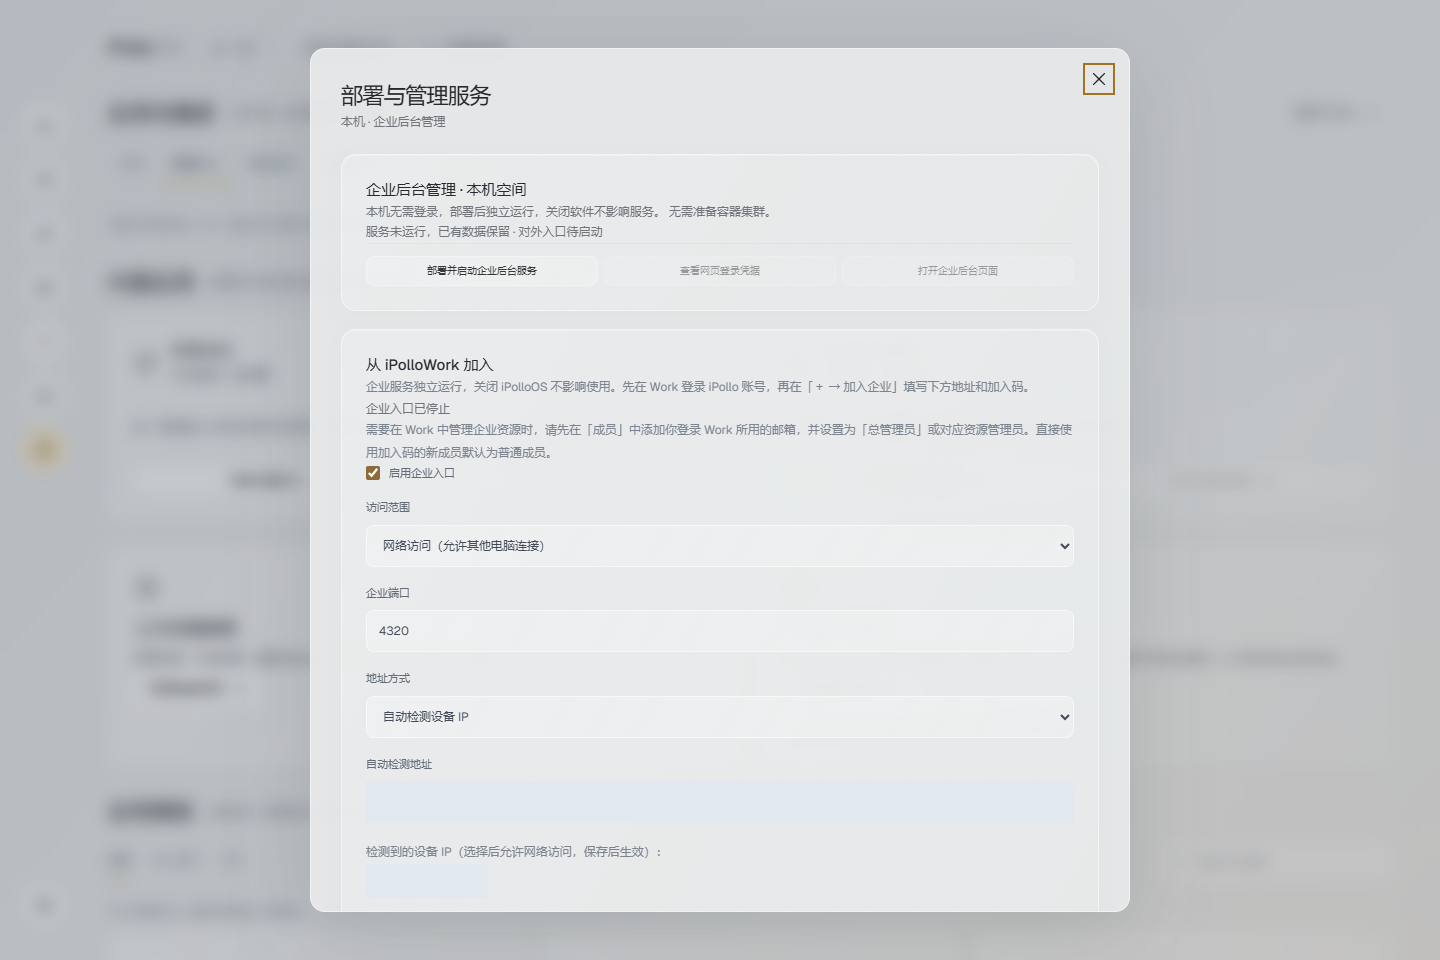
- Connect a server through the OS server entry and finish its checks before using dependent workloads.
- Replicas can distribute requests but do not automatically combine memory or split one model across computers.
- Development TP/PP deployment groups have separate GPU and network requirements; real multi-machine performance still needs hardware acceptance testing.
- A key may be bound to a space member. Responsibilities, resource permissions and quotas are separate controls; storing a quota does not establish complete hardware isolation.
- Restrict exposed APIs and configure authentication and HTTPS for remote access. Avoid exposing underlying inference ports or deployment credentials.
Troubleshooting
| Symptom | Check first |
|---|---|
| Refused connection or timeout | Device availability, reachability, port and listening scope. |
| 401 / 403 | Key status, target space and member model permissions. |
| Missing model | Actual /v1/models ID and enabled status. |
| Slow first response | Loading, available memory and the request queue. |
| Chat succeeds but tools fail | Model tool support, context, runtime and tool permissions. |
| Image or video failure | Media components, runtime, supported device and task logs. |
Completion means a successful OS test, a successful Work call and an inspectable real task. Continue with team resources or deployment checks.
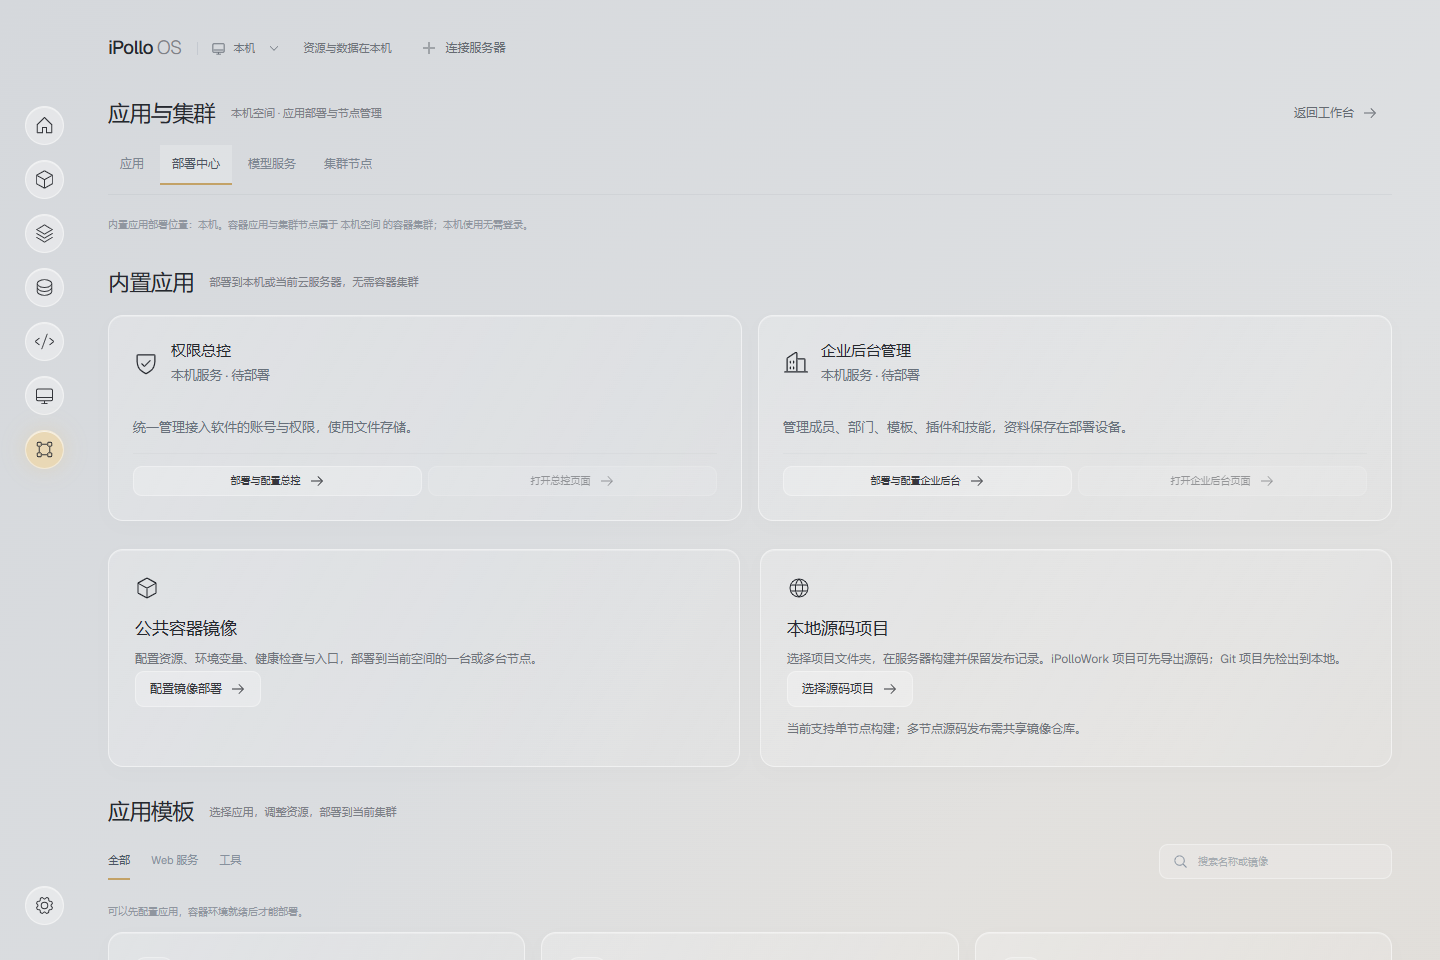
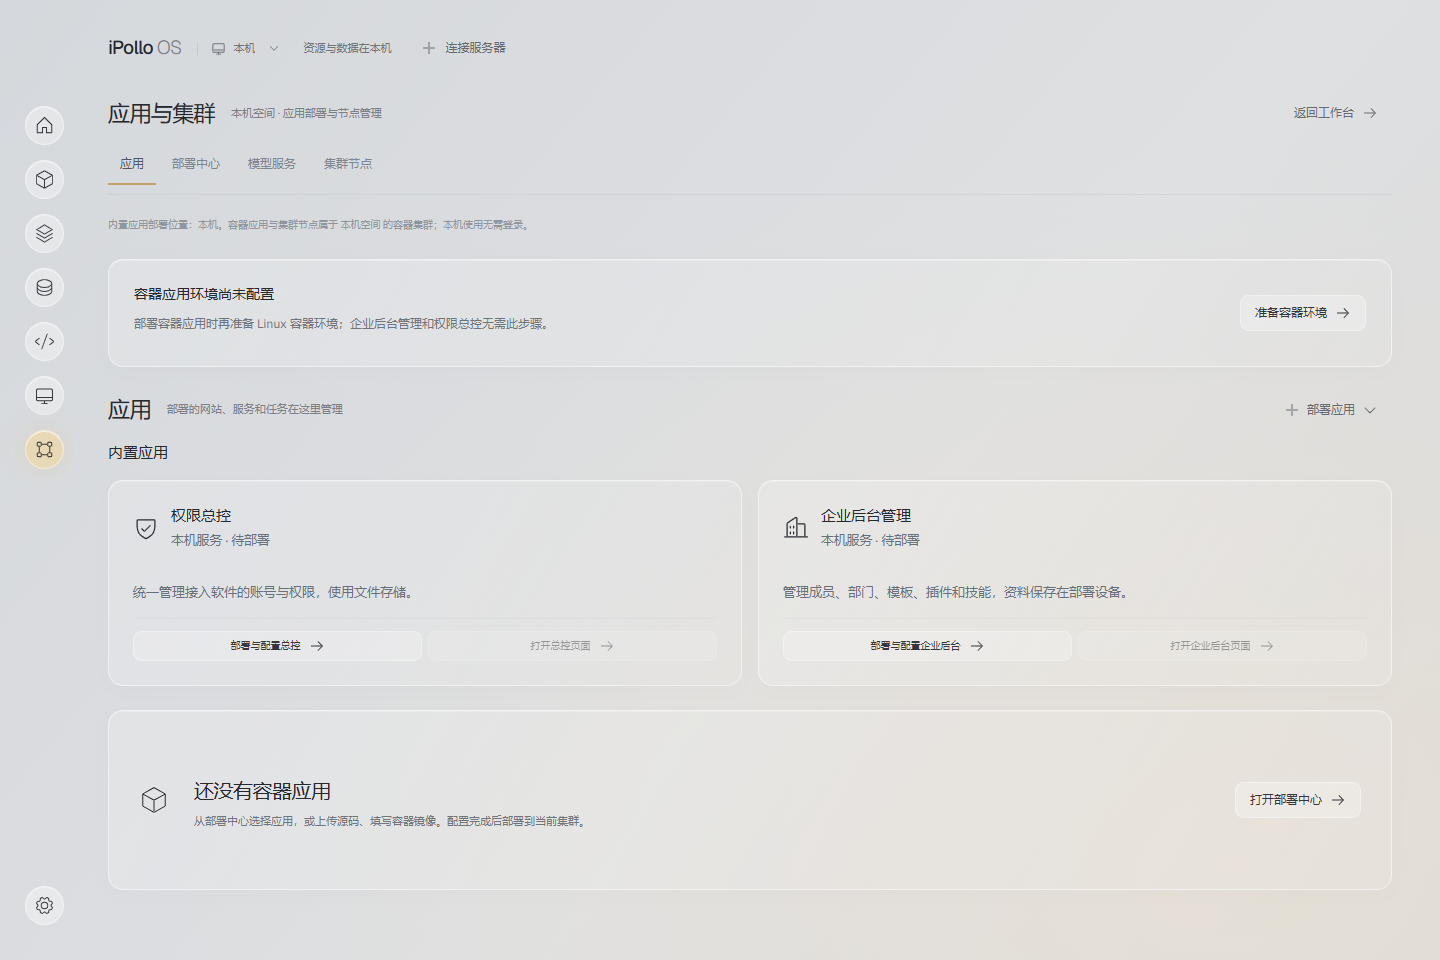
Source interface examples
Screenshots below are taken from the current independent manual. Full illustrated procedures are available from the document library.