Enterprise spaces and shared resources
Prepare a space, join as a member, install approved resources and share session snapshots.
Based on the 2 November 2026 independent edition · Download the complete Chinese PDF or Word manual
Prepare iPolloWork, an iPollo Account, and the enterprise address and join code supplied by your administrator. Confirm licensing before team or commercial deployment.
- 01Prepare a space
An administrator configures the service, members and departments.
- 02Join as a member
Sign in and connect using the enterprise address and join code.
- 03Approve and authorize
Review submissions and assign their audience.
- 04Install and reuse
Use authorized templates, extensions and session snapshots in Work.
Prepare the enterprise space
1. Choose a deployment
- Through iPolloOS: select the intended device or server space and prepare space management. Older versions may show “Applications & clusters → Enterprise backend”; follow your installed version.
- Standalone Enterprise Server: prepare the service, PostgreSQL, persistent artifact storage, HTTPS and backups. This service manages resources; it does not execute Work tasks or plugins.
OS local/LAN management uses embedded management and separate PGlite data. A remote server space prepares an independent service and PostgreSQL on a connected server. Verify the selected remote service independently.
2. Prepare membership and access
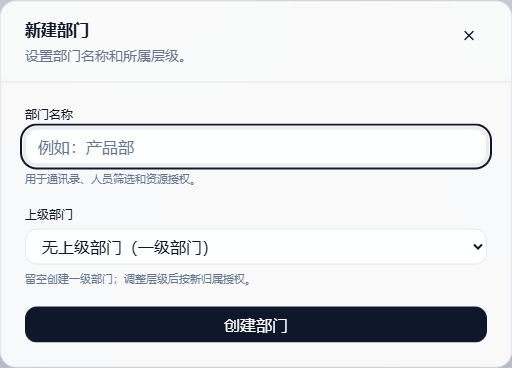
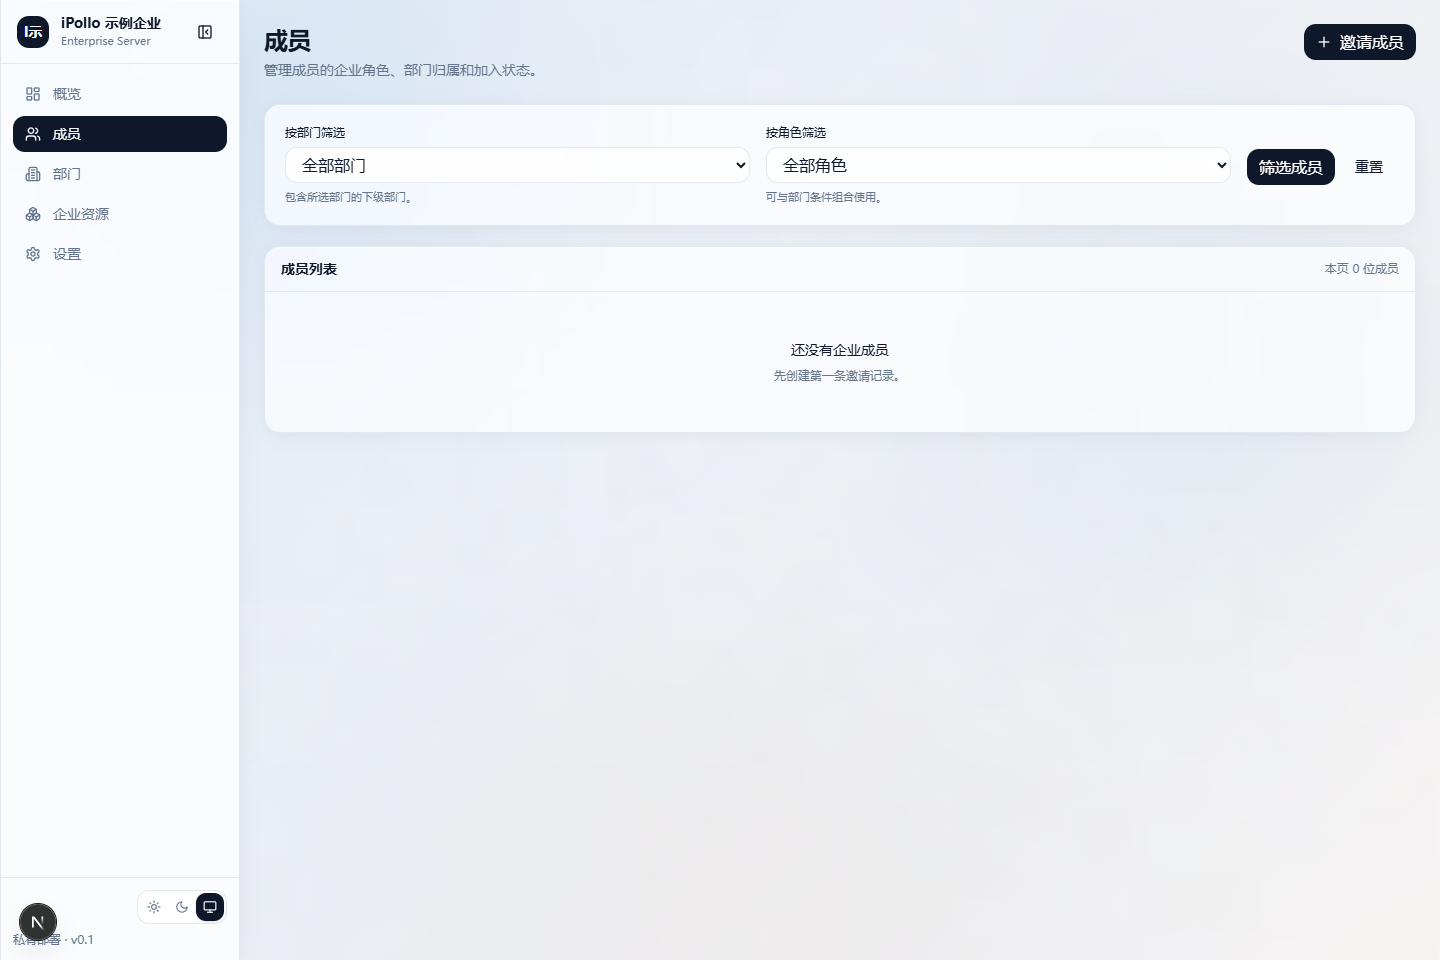
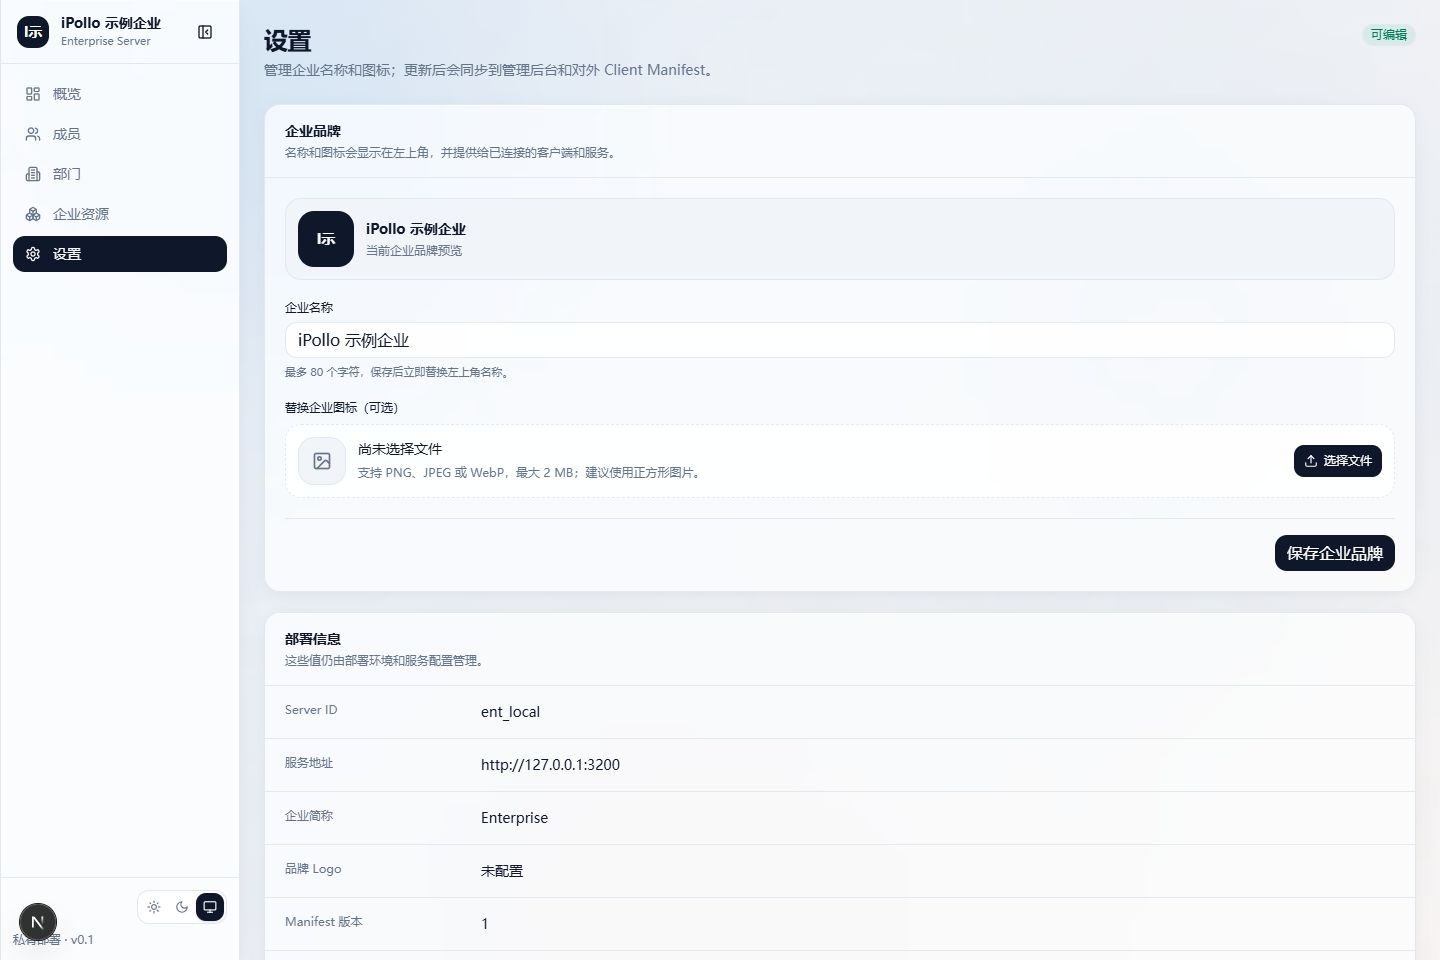
- Configure the enterprise name, members and departments.
- Assign only the roles required. Member, template administrator, plugin administrator and deployment administrator are distinct responsibilities.
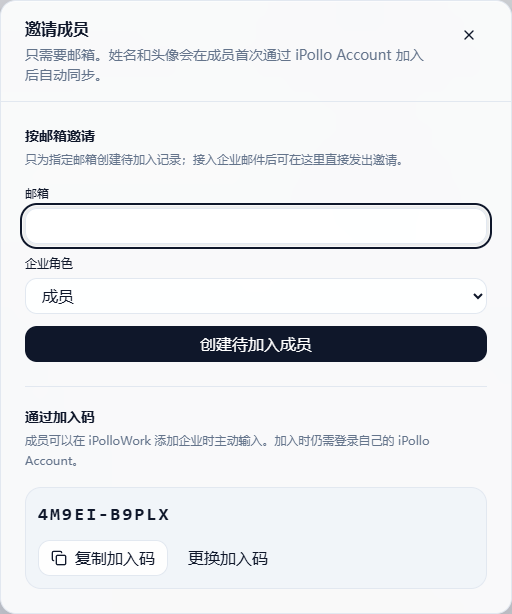
- Copy the enterprise service address and join code from settings and provide them to the intended members.
- Verify that member devices can reach the address.
localhostrefers to each member's own computer; remote members need a reachable address, with HTTPS for public access.
Rotate join codes when needed. Keep them out of public screenshots, templates, websites and repositories.
Join as a member
3. Sign in and connect
- Sign in to the correct iPollo Account from Work's lower-left account entry.
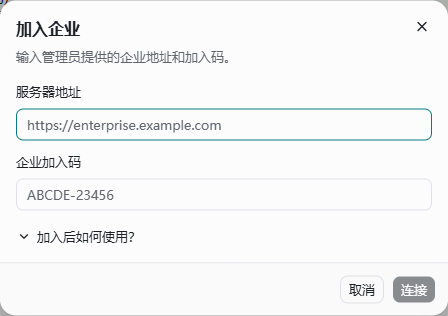
- Choose the enterprise joining action from the workspace “+” menu. Older versions may place it under settings and account.
- Enter the address and join code and complete the verification prompts.
| Field | Example | Source |
|---|---|---|
| Enterprise address | https://enterprise.example.com | Your administrator. |
| Join code | Code supplied by your administrator | Enterprise settings; this is not a model API key. |
| Personal identity | Your iPollo Account | Sign in through Work. |
Completion check: the intended enterprise and identity appear, and authorized resources are available from the enterprise source. Joining does not grant administrator privileges or automatically configure a model.
Check an OS-hosted local endpoint
In current OS versions, enable the Work enterprise endpoint under space management settings. Check the effective address and listening scope. Other computers need a reachable LAN address and firewall access to the enterprise port. Keep OS running and prevent device sleep; exiting OS stops this endpoint.
Public access requires a dedicated domain and HTTPS reverse proxy to the enterprise endpoint, with the published address configured accordingly. Do not expose the desktop control port as an enterprise endpoint. The account service must match the one used to sign in from Work.
Use templates, plugins and Skills
4. Install one authorized resource
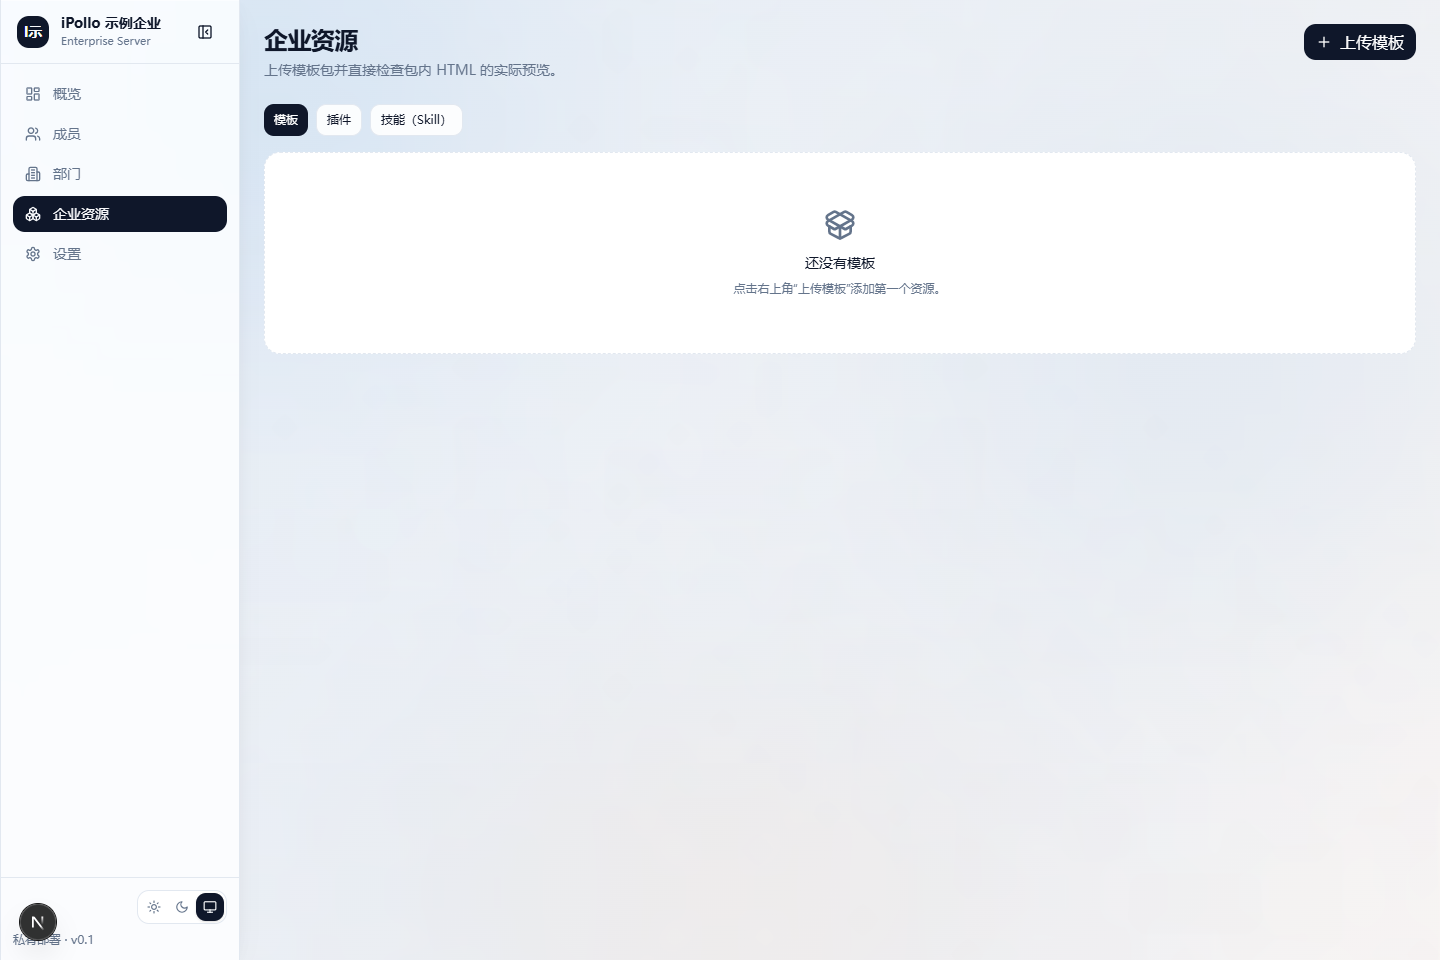
- Select the enterprise source in templates or extensions.
- Read the description, version, requirements and scope before installing.
- Create a small test artifact from the template or run a small extension task.
- Inspect the local result. Configure models, MCP services and external accounts separately when required.
Enterprise Server distributes resources; Work installs and runs them. Listing and downloads follow the same access rules. If an item is missing, ask the administrator to check its assigned audience.
5. Submit, approve and update
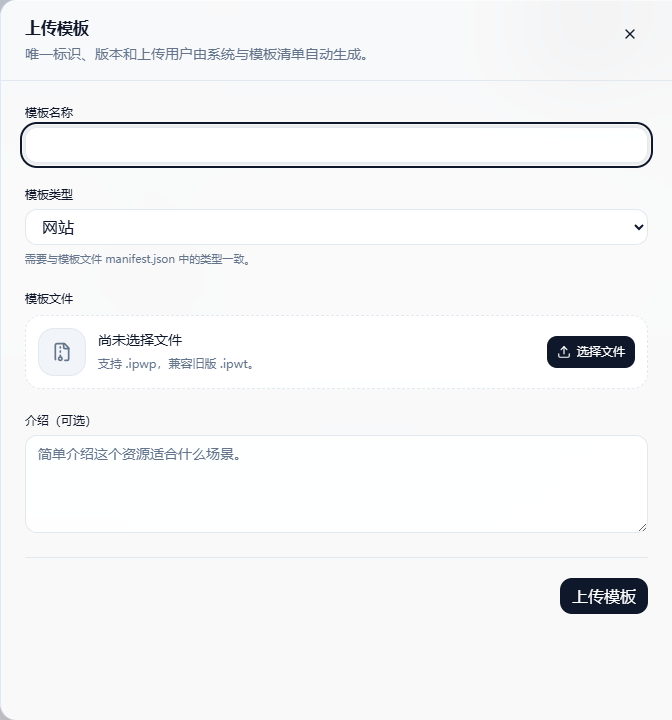
- Submit a personal template or extension with a version and usage instructions.
- An administrator reviews its contents, origin and runtime requirements.
- After approval, assign access to all members, selected people or departments.
- Test listing and downloading with both an authorized and an unauthorized member.
New submissions begin with restricted visibility. A pending version does not replace a published one. Delisting prevents future access but does not automatically remove local copies.
Share a session snapshot
- Choose the sharing action and inspect the Markdown content being shared.
- Select enterprise recipients and review read, accept or ignore receipts.
- Recipients can use the shared context in their own work.
A snapshot is actively shared context, rather than real-time collaborative editing or full project synchronization. Review private information before sending it.
Verify permissions and data
| Check | Expected result |
|---|---|
| Member roles | Ordinary members cannot perform administrator-only actions. |
| Resource scope | Unauthorized members cannot list or download restricted items. |
| Department changes and departure | Recheck inherited access and revoke enterprise permissions after departure. |
| Deployment administration | Separate deployment credentials; a resource role does not grant backend superadmin login. |
| Recovery | Persist the database and artifacts, and perform an actual restore test. |
Full SAML, LDAP, AD, SCIM and remote project synchronization are outside this guide's delivered scope. Confirm identity integration for the actual deployment.
Troubleshooting
Unreachable address: check the selected space, network, HTTPS and service health. A deployment operator's loopback URL is unsuitable for remote employees.
Joining fails: verify the signed-in account, code rotation and permitted membership.
No resources: check publication, approval, audience assignment and the selected enterprise source.
Downloads work but execution fails: check models, external services and local tools separately.
Based on the 2 November 2026 independent Enterprise manual. Verify the displayed entry points against your installed version.
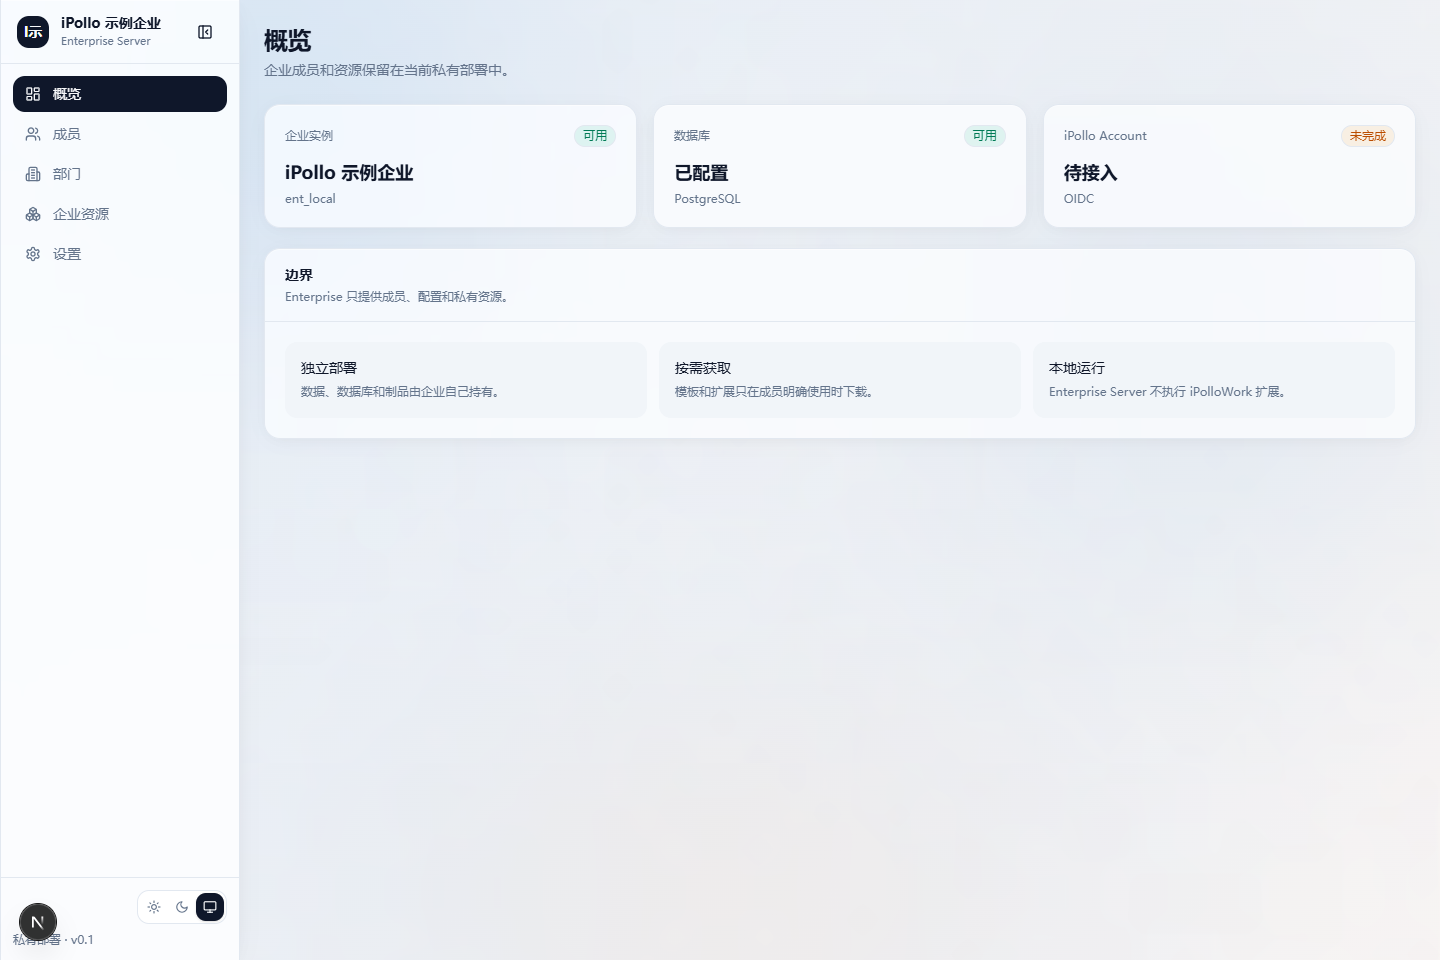
Source interface examples
Screenshots below are taken from the current independent manual. Full illustrated procedures are available from the document library.